DIY Home Pump Installation and What You Need to Know
Installing a home water pump may appear to be a difficult task, but with the right tools and some basic understanding, one can do the process themselves. Knowing the procedure might save you time and money when installing a new system or changing an outdated pump. For those looking for reliable options, pump manufacturers in Coimbatore offer high-quality products that can make your installation smoother. This blog will walk you through the entire process. This blog will walk you through the procedure.
Understanding the Purpose
A water pump’s main purpose is to transfer water from one place to another. This could be to keep the pressure in your home’s plumbing system or to transfer water from a storage tank to your garden or from a well to your house.
The kind of pump you require will vary based on the particular use. For example, shallow well pumps are utilized in wells that are less than 25 feet deep in water, but deep well pumps are required in wells that are even deeper. Conversely, households with low water pressure need booster pumps to raise the water pressure.
Choosing the Right Pump
Choosing the appropriate pump is critical for a successful installation. Here are some things to think about:
Water Source: Determine where the water that you intend to pump comes from. Is it from a municipal supply, a storage tank, or a well? A separate kind of pump might be needed for each source.
Pump Capacity: Calculate how much water needs to be moved. Gallons per minute (GPM) is typically used to measure this. The maximum GPM required by your house should be something your pump can handle.
Pump Head: This is the height at which the water must be raised. Make sure the vertical distance between the water source and the point of use is manageable for your pump.
After taking these things into account, review the Submersible Pump Manufacturer’s specs to choose the right model.
Gathering Tools and Materials
Before you begin the installation, gather all of the necessary equipment and materials.
- Wrenches
- Pipe fittings (appropriate for your pump type)
- Teflon tape (for sealing threaded connections)
- Piping (PVC or metal, depending on your system)
- Pipe cutters
- Screwdrivers
- Voltage tester (if working with an electric pump)
- Cement or sealant (for PVC pipes)
- Electrical wire and connectors (if not included with the pump)
- Safety gear (gloves, goggles)
Having all your tools and materials on hand before you start will save time and reduce the chances of interruptions during the installation.
Preparing the Installation Site
A successful installation requires preparation.
Make sure there is no dirt in the area surrounding the well while installing a well pump.
Make sure you have access to a suitable electrical outlet if you’re installing an electric pump.
Make sure the power source is off at all times when handling electrical components.
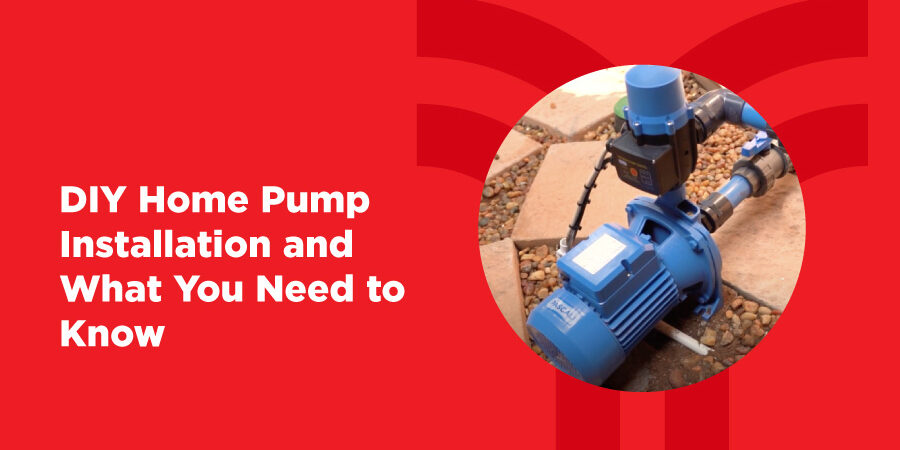
Installing the pump
Now that you’re ready, it’s time to install the pump. Take the following steps:
Assemble the Pump Components
If your pump is shipped in separate components, begin by assembling them in accordance with the guidelines provided by the manufacturer. This could entail joining the intake and outlet ports or fastening the motor to the pump body.
Set up the Pump
Put the pump where it is supposed to be. A surface pump should be installed as close to the water source as possible. If the pump is submersible, you will need to use a strong rope or cord to lower it into the tank or well.
Connect the Piping
Connect the exit pipe to the water-using system and the input pipe to the water source. To stop leaks, cover all threaded connections with Teflon tape. Make sure the pipes are positioned correctly and are fastened securely.
Wire the Pump
When connecting the wire for an electric pump, follow the directions on the pump. This could entail tying the cables to the motor or a control panel. Before handling the cables, make sure there is no power flowing through them by using a voltage tester.
Prime the Pump
You must prime the pump before you turn it on. To do this, add water to the inflow line and the pump to eliminate any air. For this reason, some pumps have a priming port. After priming, firmly shut the port.
Test the Pump
Turn on the power and test the pump to ensure it’s working properly. Check for any leaks in the piping and listen for unusual noises that might indicate a problem. If the pump is working correctly, water should flow smoothly through the system.
Troubleshooting Common Issues
Even with cautious installation, problems may still arise. Here are some typical issues and solutions for them:
Pump doesn’t Start: Check the power supply and make sure the wiring is connected correctly. If the pump still doesn’t start, the motor might be faulty.
Low Water Pressure: Verify that the pump is primed correctly and that the pipework is leak-free. Should the issue continue, the pump may be too small for your requirements.
Operation Noise: Strange noises may be an indication of a worn-out motor, loose parts, or air in the system. If required, double-check all of the connections and prime the pump.
Maintenance and Care
Your pump’s lifespan can be increased and its continued efficiency can be guaranteed with proper maintenance. Check the pump frequently for wear and tear indicators like leaks or strange noises. Take quick action to resolve any flaws you see to prevent them later.
Although installing a water pump at home may appear difficult, it is a do-it-yourself activity that can be effectively finished with the correct planning and understanding. Never forget to put safety first, especially while handling electrical components, and don’t be afraid to ask for expert assistance with Torren Pumps, the best Monoblock Pump Manufacturers in Coimbatore if you run into any problems.